
Keeping your airbrush clean can extend its lifespan, reduce clogging, and improve paint quality. Below is a complete cleaning workflow:
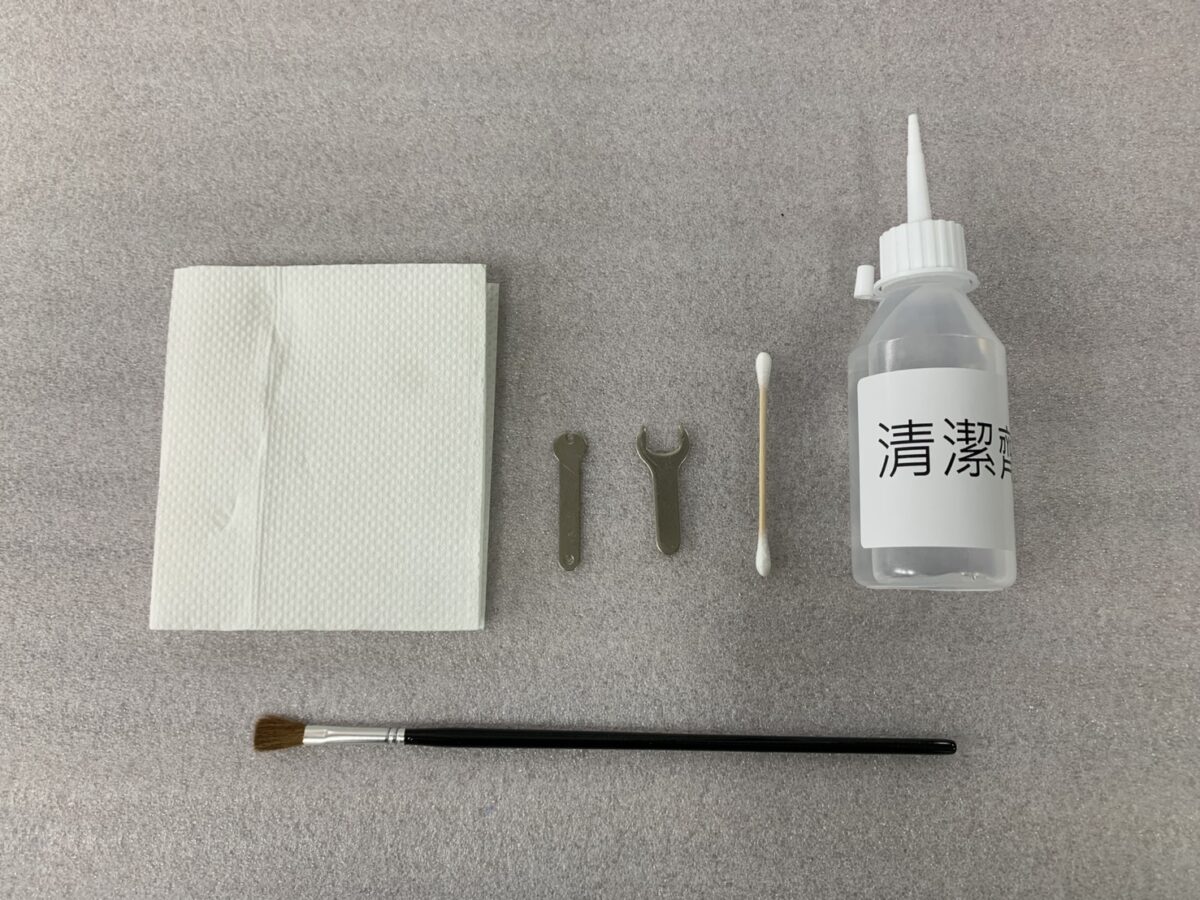
1. Tools Needed
- Airbrush cleaning solution
- Airbrush cleaning brush or cotton swabs
- Hex wrench / small wrench
- Plastic pliers
- Paper towels
2. Quick Cleaning (When Changing Colors)
Suitable for: Using different colors consecutively in the same batch
Steps:
- Pour out any remaining paint
- Add a small amount of cleaning solution and shake the airbrush
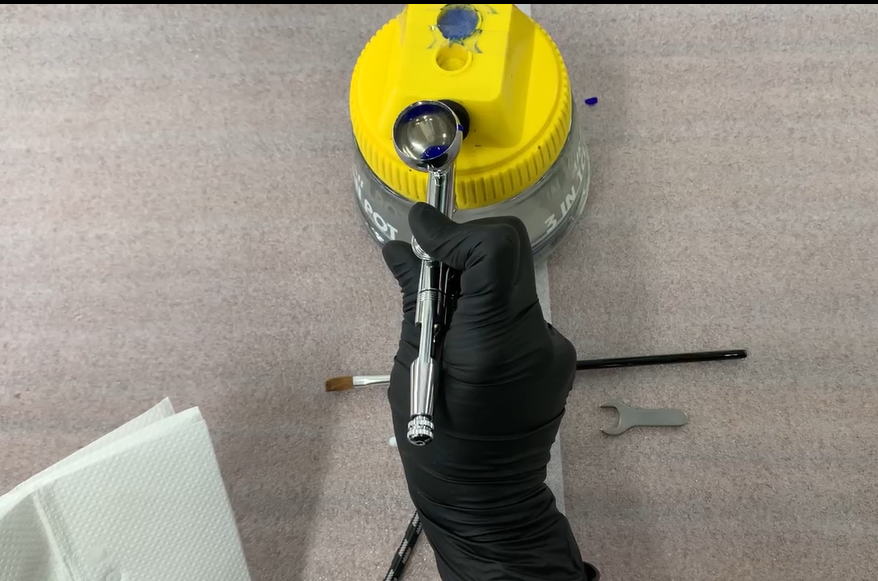
- Spray out the cleaning solution, repeat 2–3 times
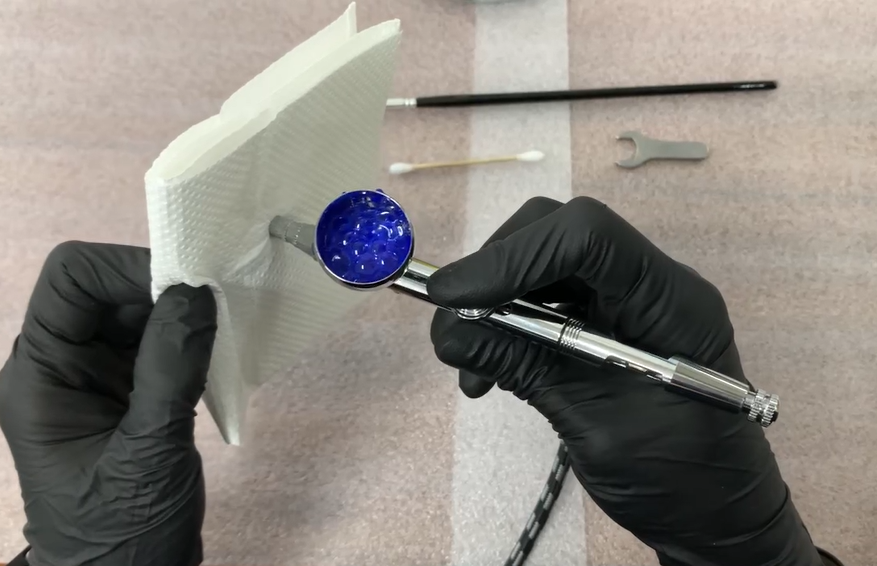
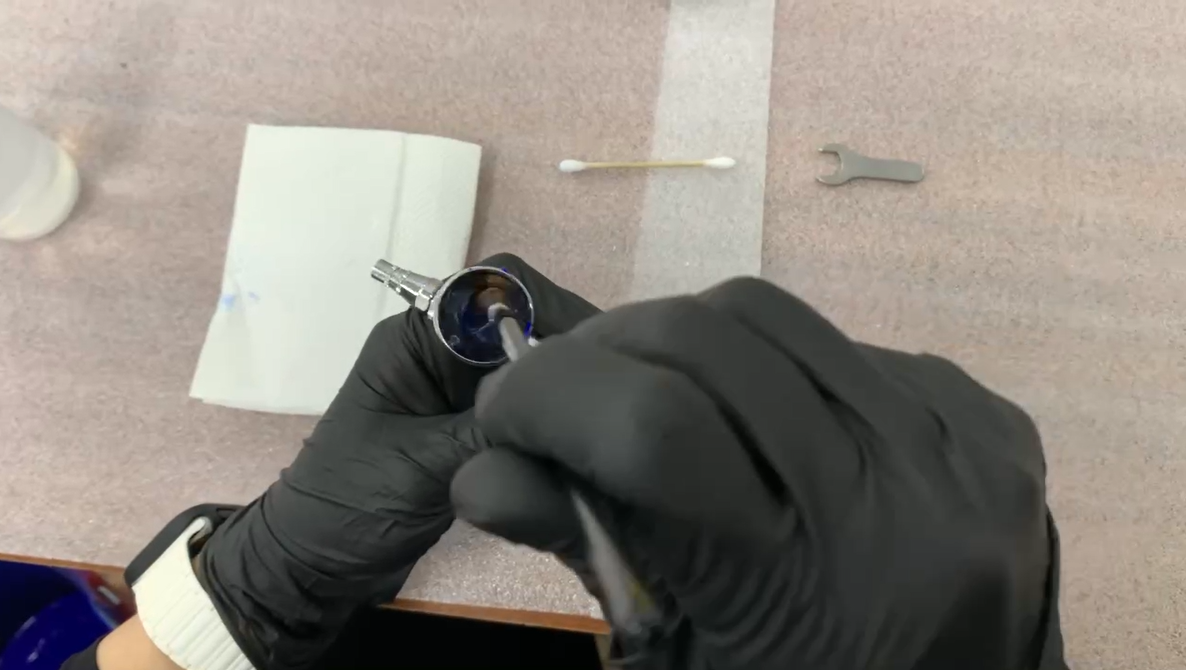
- Wipe the paint cup and the outside of the nozzle
3. Deep Cleaning (Regular Maintenance)
Suitable for: After prolonged use or when paint clog occurs
Steps:
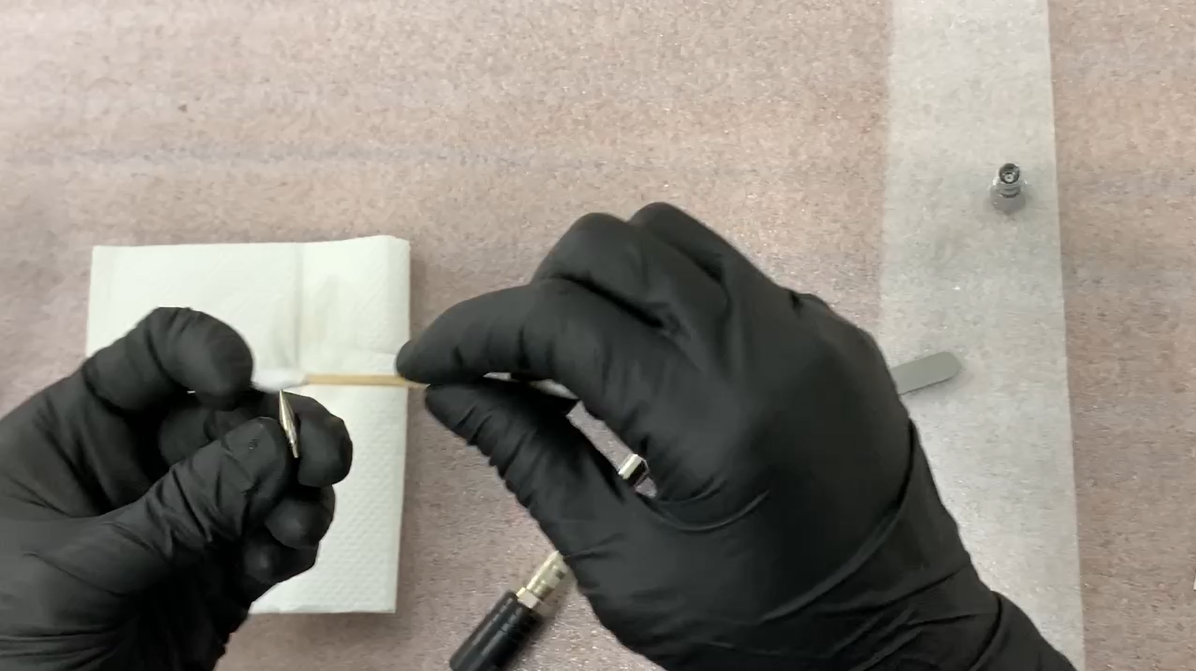
- Remove the needle: Loosen the rear cap, pull out the needle, and wipe it with a paper towel soaked in cleaning solution
- Clean the paint cup: Use a brush or cotton swab to clean the inside, repeatedly spray out cleaning solution
- Clean the nozzle:
- Threaded nozzle: Use a small wrench to remove, soak in cleaning solution, and gently brush
- Other types of nozzles: Wipe the tip with a cotton swab soaked in cleaning solution
- Reassemble: Make sure the needle moves smoothly
- Lubrication (optional): Add a small drop of airbrush-specific oil if desired

4. Notes
- Avoid applying excessive force when cleaning to prevent damage to the needle or nozzle
- Do not use too much cleaning solution to avoid damaging the internal parts
- Regular deep cleaning prevents paint buildup and clogging