Applicable Models:
Most dual-action airbrushes
Recommended Replacement Timing:
- Needle pull feels heavy or not smooth
- Needle rebound is abnormal
- Paint seeps into the airbrush body
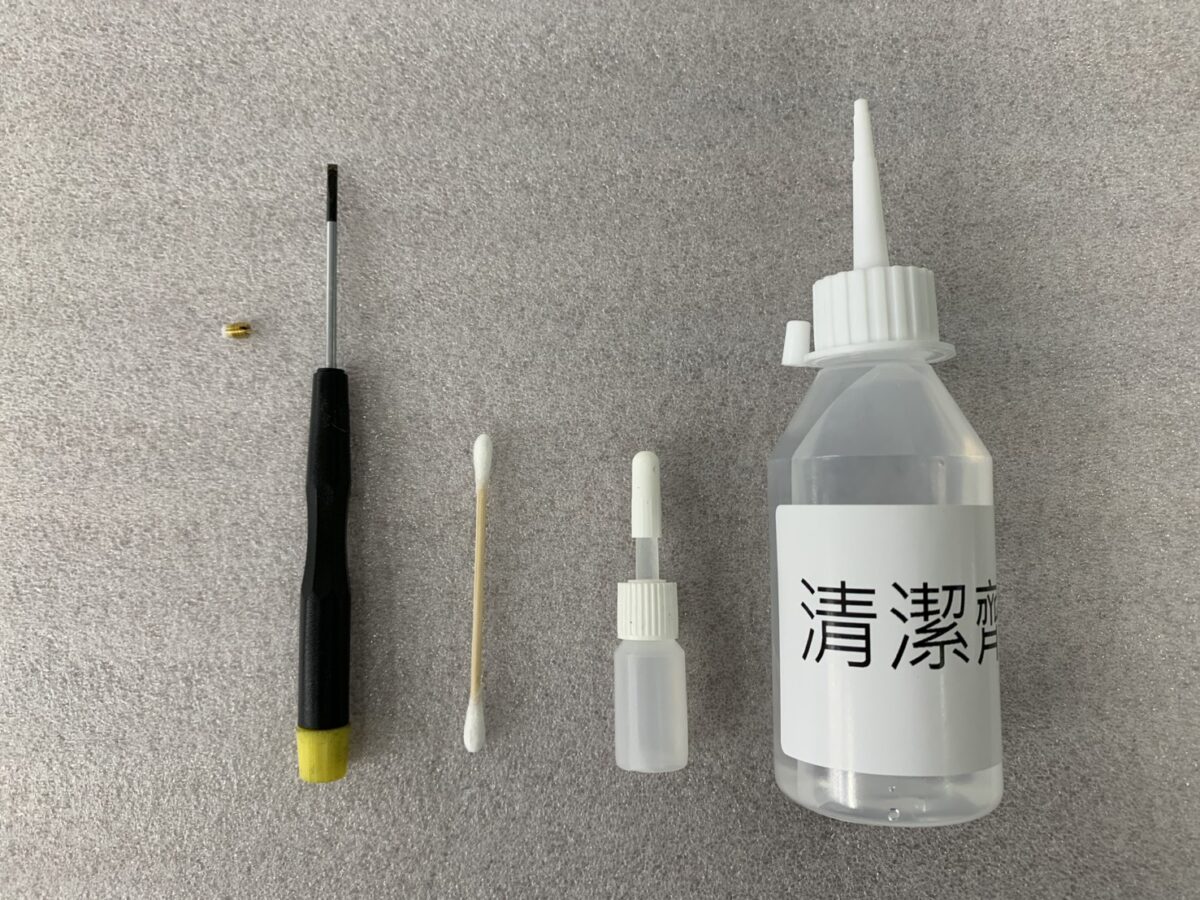
Tools Needed:
Needle shaft seal, screwdriver, cleaning solution, cotton swabs, (optional) airbrush-specific lubricating oil
Replacement Steps:
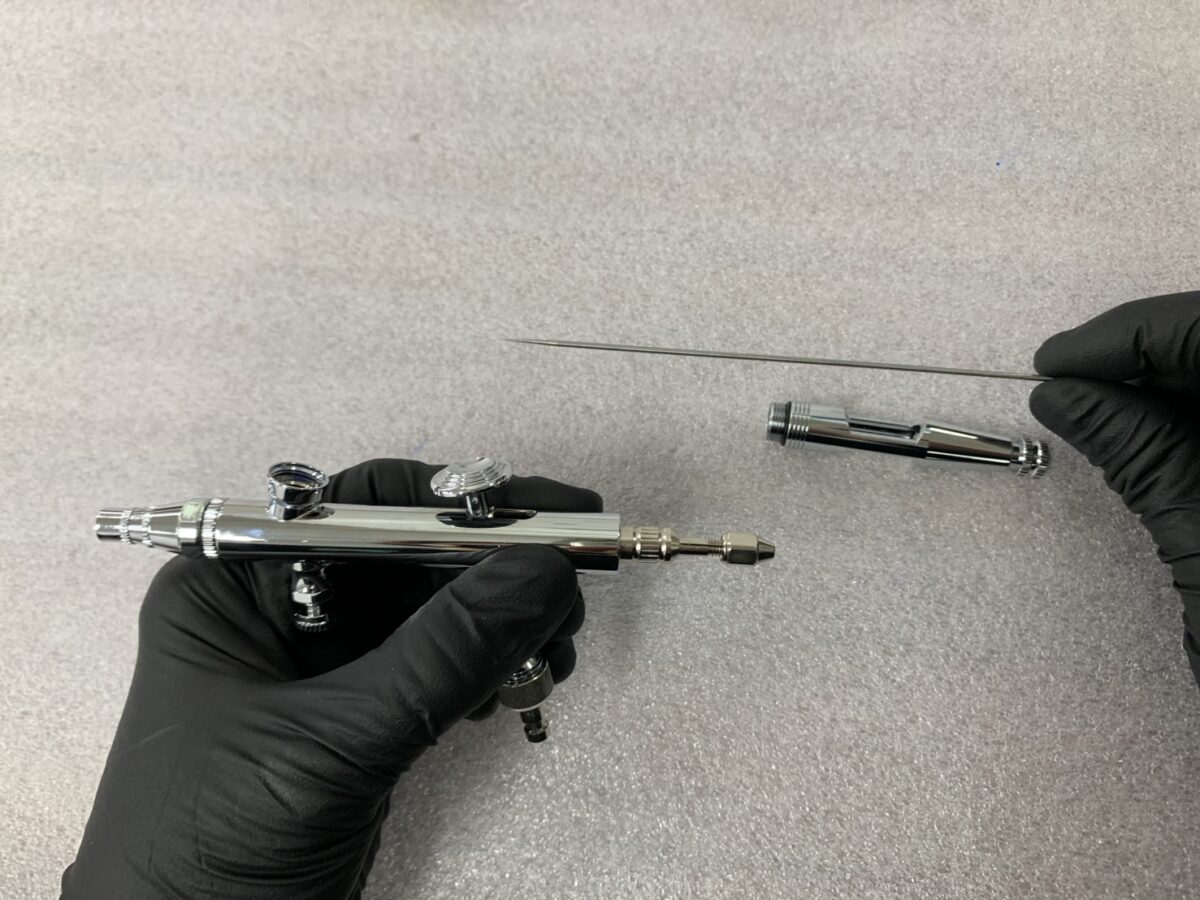
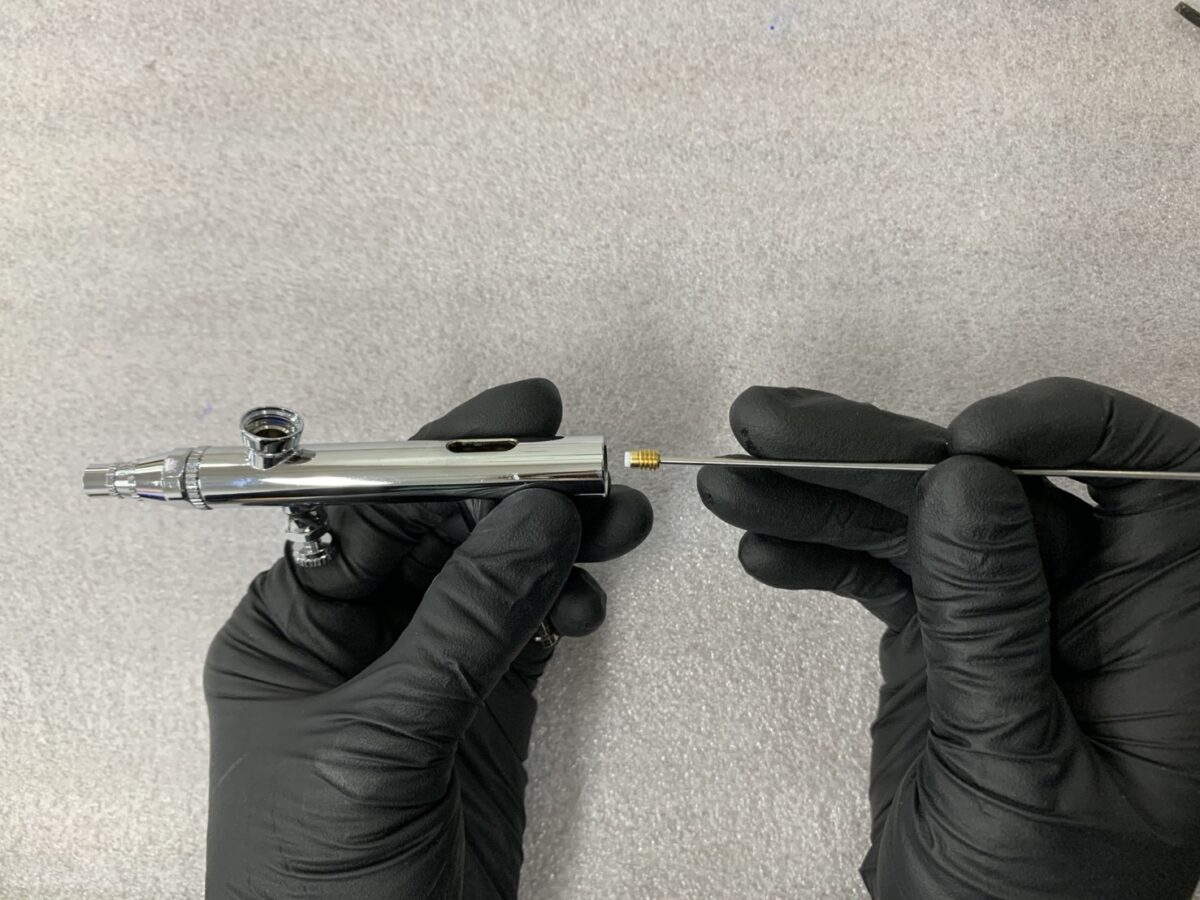
1.Remove the Needle
Unscrew the tail cap, loosen the locking nut, and pull out the needle from the rear.
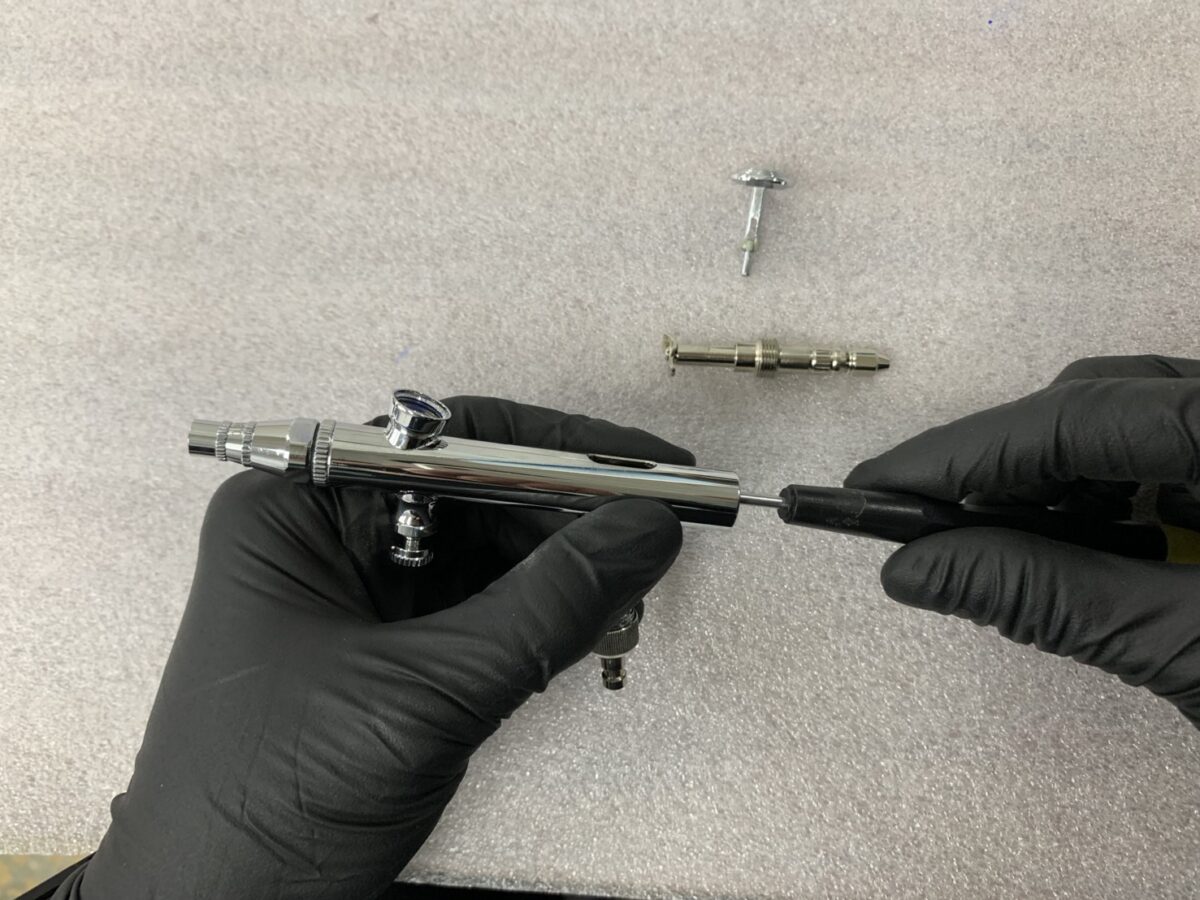
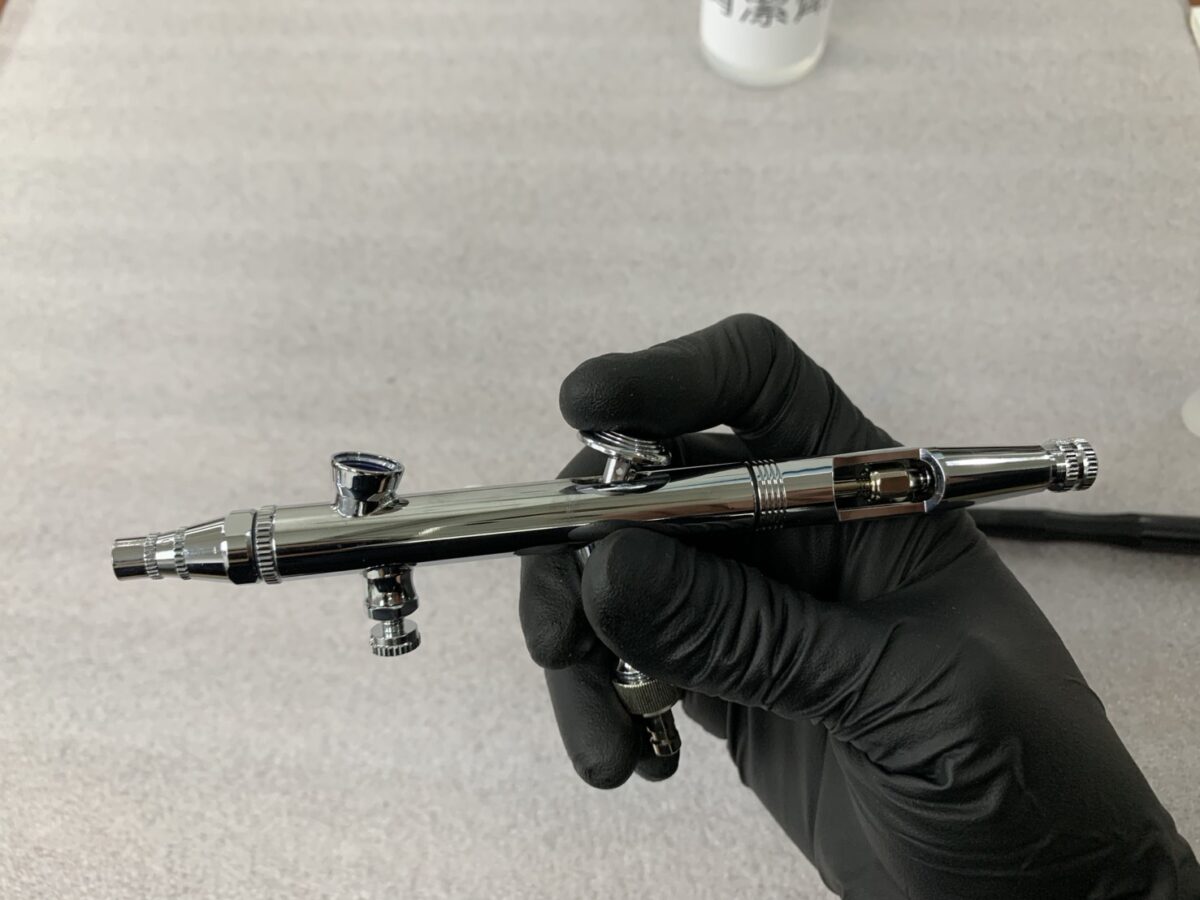
2.Remove Rear Components
Unscrew the actuator rod and handle, and remove the old needle shaft seal.
3.Clean the Seal and Passage
Remove any paint residue and dirt from the seal seat.

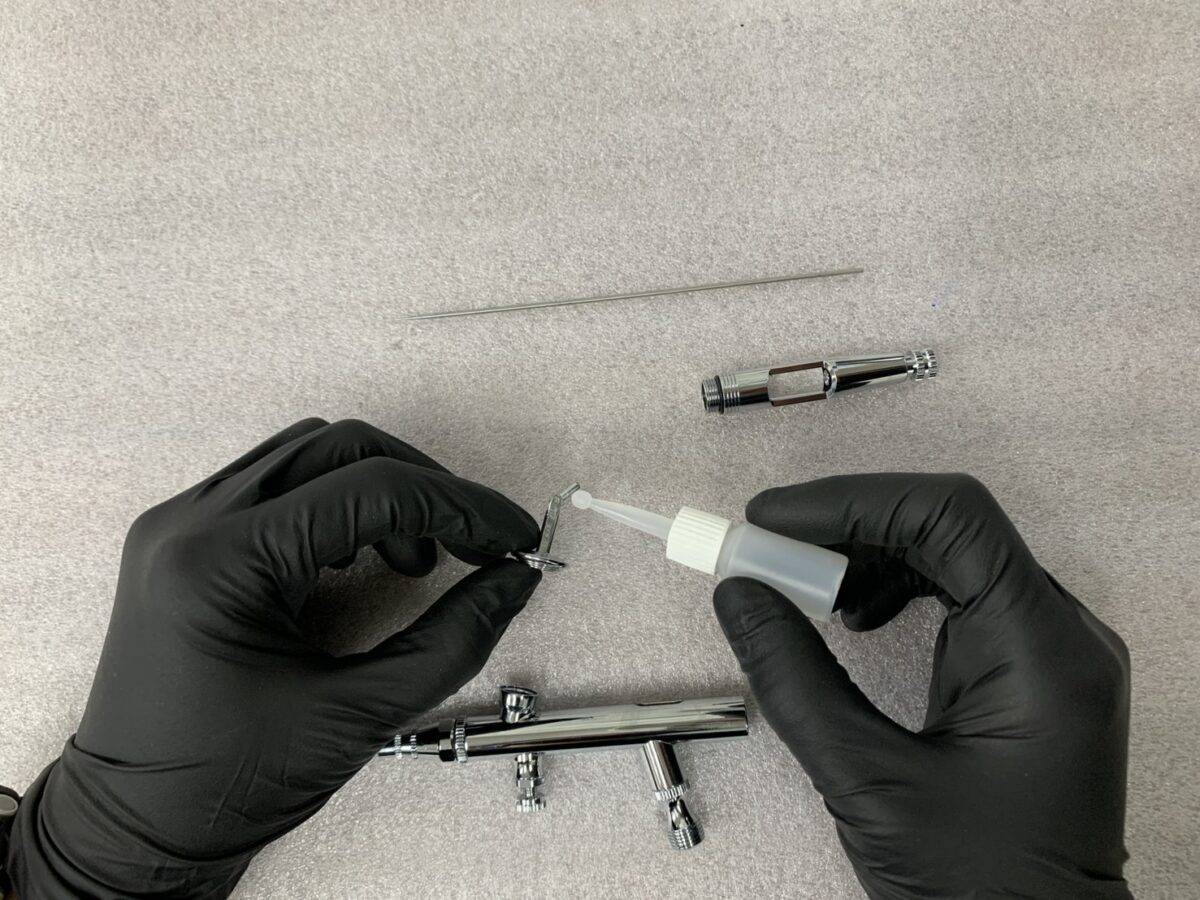
4.Install the New Seal
Insert the new shaft seal and reassemble all components (tighten securely but do not overtighten).
5.Test the Needle Feel
Reinsert the needle and check for smooth movement.
6.Lubricate (Optional)
Apply a thin layer of airbrush oil near the shaft seal.
7.Complete Assembly
Push the needle back in and screw the tail cap on.
Final Check:
Needle moves smoothly|Rebound is normal|No paint leakage